Hoff_Design
-
Posts
274 -
Joined
-
Last visited
Content Type
Profiles
Forums
Gallery
Everything posted by Hoff_Design
-
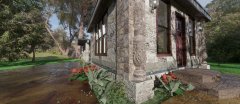
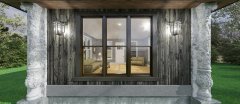
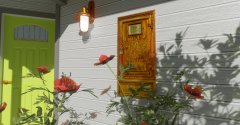
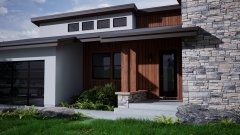
From the album: Messing around with home made textures-rendering in X17
-
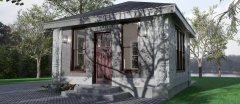 Note the subtle stains on the foundation and the fascia.
 -
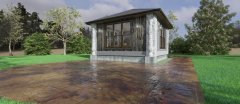 I like the wet look of the stamped concrete.
 -
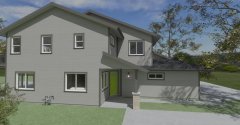
 Rendered in Chief. I have been working on creating new textures for my library. Really enjoying it. No AI.
 -
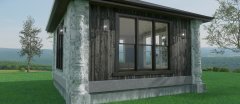
From the album: Messing around with home made textures-rendering in X17
-
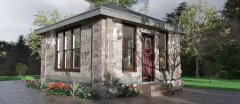
From the album: Messing around with home made textures-rendering in X17
-
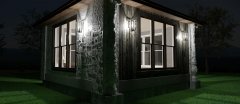
From the album: Messing around with home made textures-rendering in X17
-
From the album: Messing around with home made textures-rendering in X17
-
From the album: Messing around with home made textures-rendering in X17
-
From the album: Messing around with home made textures-rendering in X17
-
 Nice job!
 -

Fire-Rebuild Altadena Santa Rosa.png
Hoff_Design commented on ChiefARCHLA's gallery image in Room Planner
 Nice work! Great attention to detail.
 -
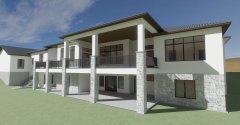
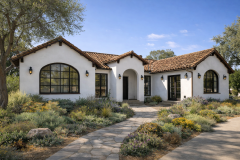
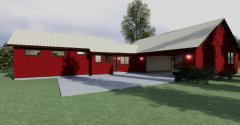
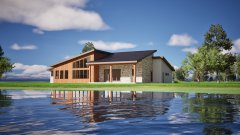
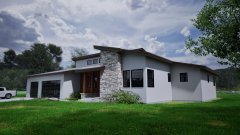
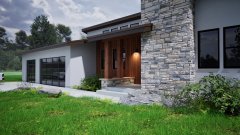
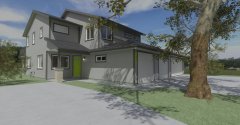
From the album: Recent Projects
-

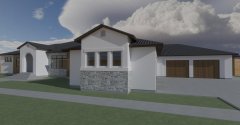
From the album: Recent Projects
-
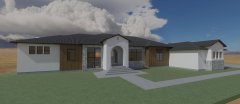
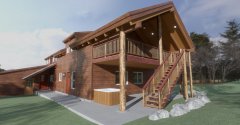
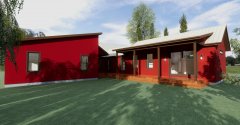
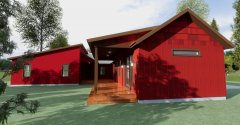
Renders of recent projects.
-
-
From the album: Recent Projects
-
From the album: Recent Projects
-
From the album: Recent Projects
-
From the album: Recent Projects
-
From the album: Recent Projects
-
From the album: Recent Projects
-
From the album: Recent Projects
-
From the album: Recent Projects
-
From the album: Recent Projects
-
From the album: Recent Projects