

Hoff_Design
-
Posts
257 -
Joined
-
Last visited
Content Type
Profiles
Forums
Gallery
Everything posted by Hoff_Design
-
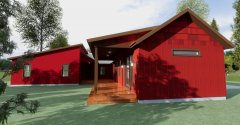
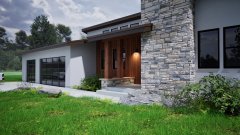
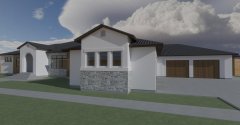
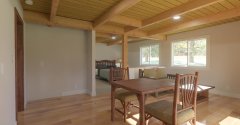
From the album: Recent Projects
-
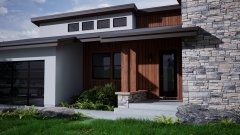
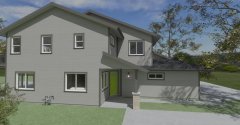
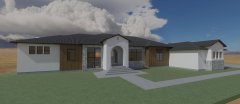
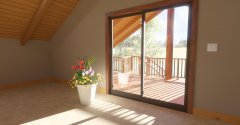
From the album: Recent Projects
-
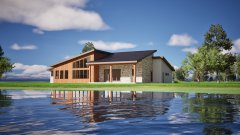
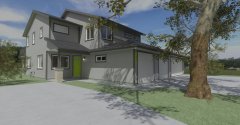
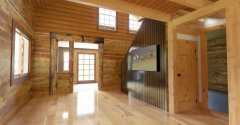
From the album: Recent Projects
-
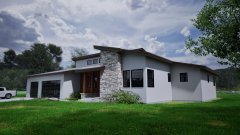
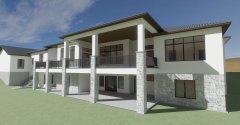
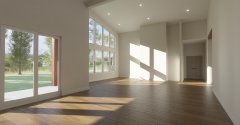
From the album: Recent Projects
-
From the album: Recent Projects
-
From the album: Recent Projects
-
From the album: Recent Projects
-
From the album: Recent Projects
-
From the album: Recent Projects
-
From the album: Recent Projects
-
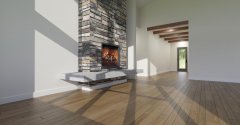
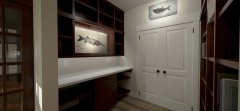
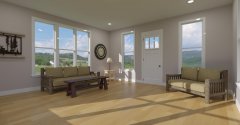
From the album: Interior Lighting
-
This album will feature a focus on interior lighting in X17 using the ray trace rendering.
-
-
From the album: Interior Lighting
-
From the album: Interior Lighting
-
From the album: Interior Lighting
-
From the album: Interior Lighting
-
From the album: Interior Lighting
-

From the album: Interior Lighting
-
From the album: Interior Lighting
-

I-joist rafters with 2x6 tails - auto rebuild, how do I do it?
Hoff_Design replied to Hoff_Design's topic in General Q & A
Thank you everyone for your input! I used copy and paste in place on the roofs, made the changes and here it is. It is not perfect, (not sure how to align the 2x6's to the side of the I-joist) and I would want to show blocking between joists at the top plate. (probably just create a 3D solid for those?) Had to move out of auto build to manual. This does work well for section view. Again thank you! -
How do I produce an overhang like the hand drawing instead of the rendered model where the roof is an I-joist and the overhang is 2x6 DF?
-
Control the amount of the paint blend transparency
Hoff_Design replied to Ringos's topic in General Q & A
When I want control over the color blend of a texture, I currently export the texture and open in photoshop, adjust the color, then reimport. I added this as a suggestion to include in future versions. -
Very cool!
-
Good job!
-
When I need to block out an area fast, I draw a box fill it with white then use transparency to let through what I want to see.


